Expert Guide to Pool Tile Installation
When it comes to enhancing the aesthetic and functional appeal of your swimming pool, pool tile installation stands out as both a vital and rewarding investment. Not only does it elevate the visual charm of your pool, but it also adds durability and can significantly enhance the safety of your aquatic space. This comprehensive guide will delve deep into the world of pool tile installation, from the types of tiles available to the steps involved in the installation process, and the long-term benefits of investing in quality pool tiling.
Understanding Pool Tile Installation
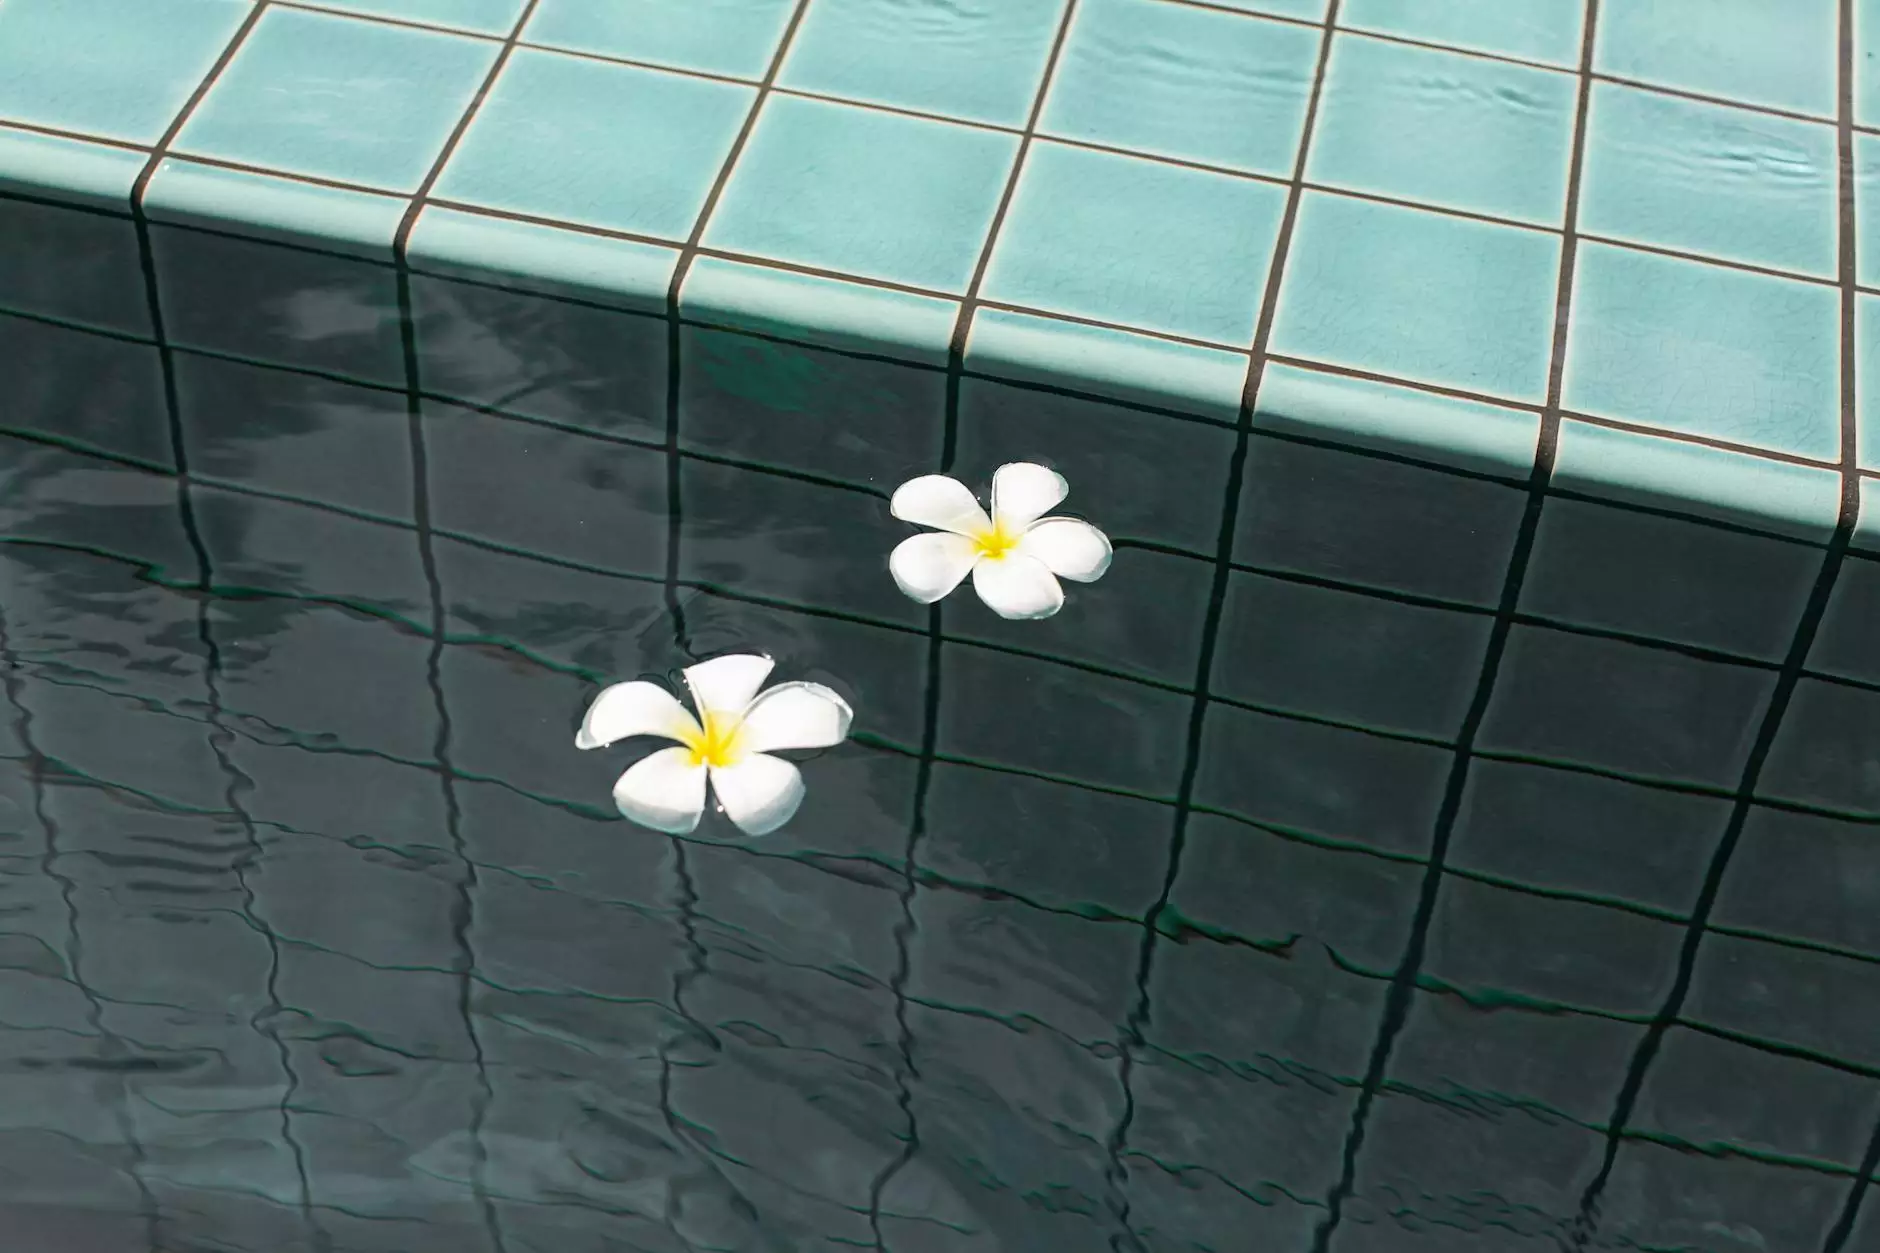
Pool tile installation involves applying various types of tiles to the surfaces of your swimming pool. This can include the waterline, pool floors, and even spa areas attached to your pool. The choice of tiles not only affects the aesthetic appeal but also the functionality of the pool, including water circulation, maintenance, and overall durability.
Why Choose Tile for Your Pool?
The advantages of selecting tile for your pool surfaces are numerous. Below, we detail the most important benefits:
- Durability: Tiles are designed to withstand harsh chemicals and the pressure of water, ensuring longevity.
- Low Maintenance: Tile surfaces are easy to clean, reducing the time and effort required for regular upkeep.
- Aesthetic Variety: With countless styles, colors, and materials available, tiles can tailor the pool’s design to your personal taste.
- Slip Resistance: Many tiles come with textured finishes, providing safety by reducing the risk of slips and falls.
- Environmental Benefits: Some tiles are eco-friendly, made from sustainable materials, helping to reduce your carbon footprint.
Types of Pool Tiles
Selecting the right tile is crucial for achieving the desired look and functionality of your pool. Below are the main types of tiles available for installation:
1. Ceramic Tiles
Ceramic tiles are a popular choice among pool owners due to their durability and aesthetics. They are available in a variety of colors and designs, allowing you to create a stunning look that complements your outdoor area.
2. Glass Tiles
Glass tiles are renowned for their beauty and reflective quality. They can add a luxurious feel to your pool, often creating stunning visual effects with light. Additionally, these tiles are resistant to mold and mildew, making them a low-maintenance option.
3. Stone Tiles
Natural stone tiles like slate or travertine offer a unique and organic aesthetic. These materials are durable and bring a distinctive geological feature to the pool environment. Stone tiles require sealing and maintenance to ensure longevity.
4. Mosaic Tiles
Mosaic tiles can be used to create intricate designs and patterns in a pool, allowing for artistic expression. They are often small, enabling unique layouts and themes to be incorporated into the design.
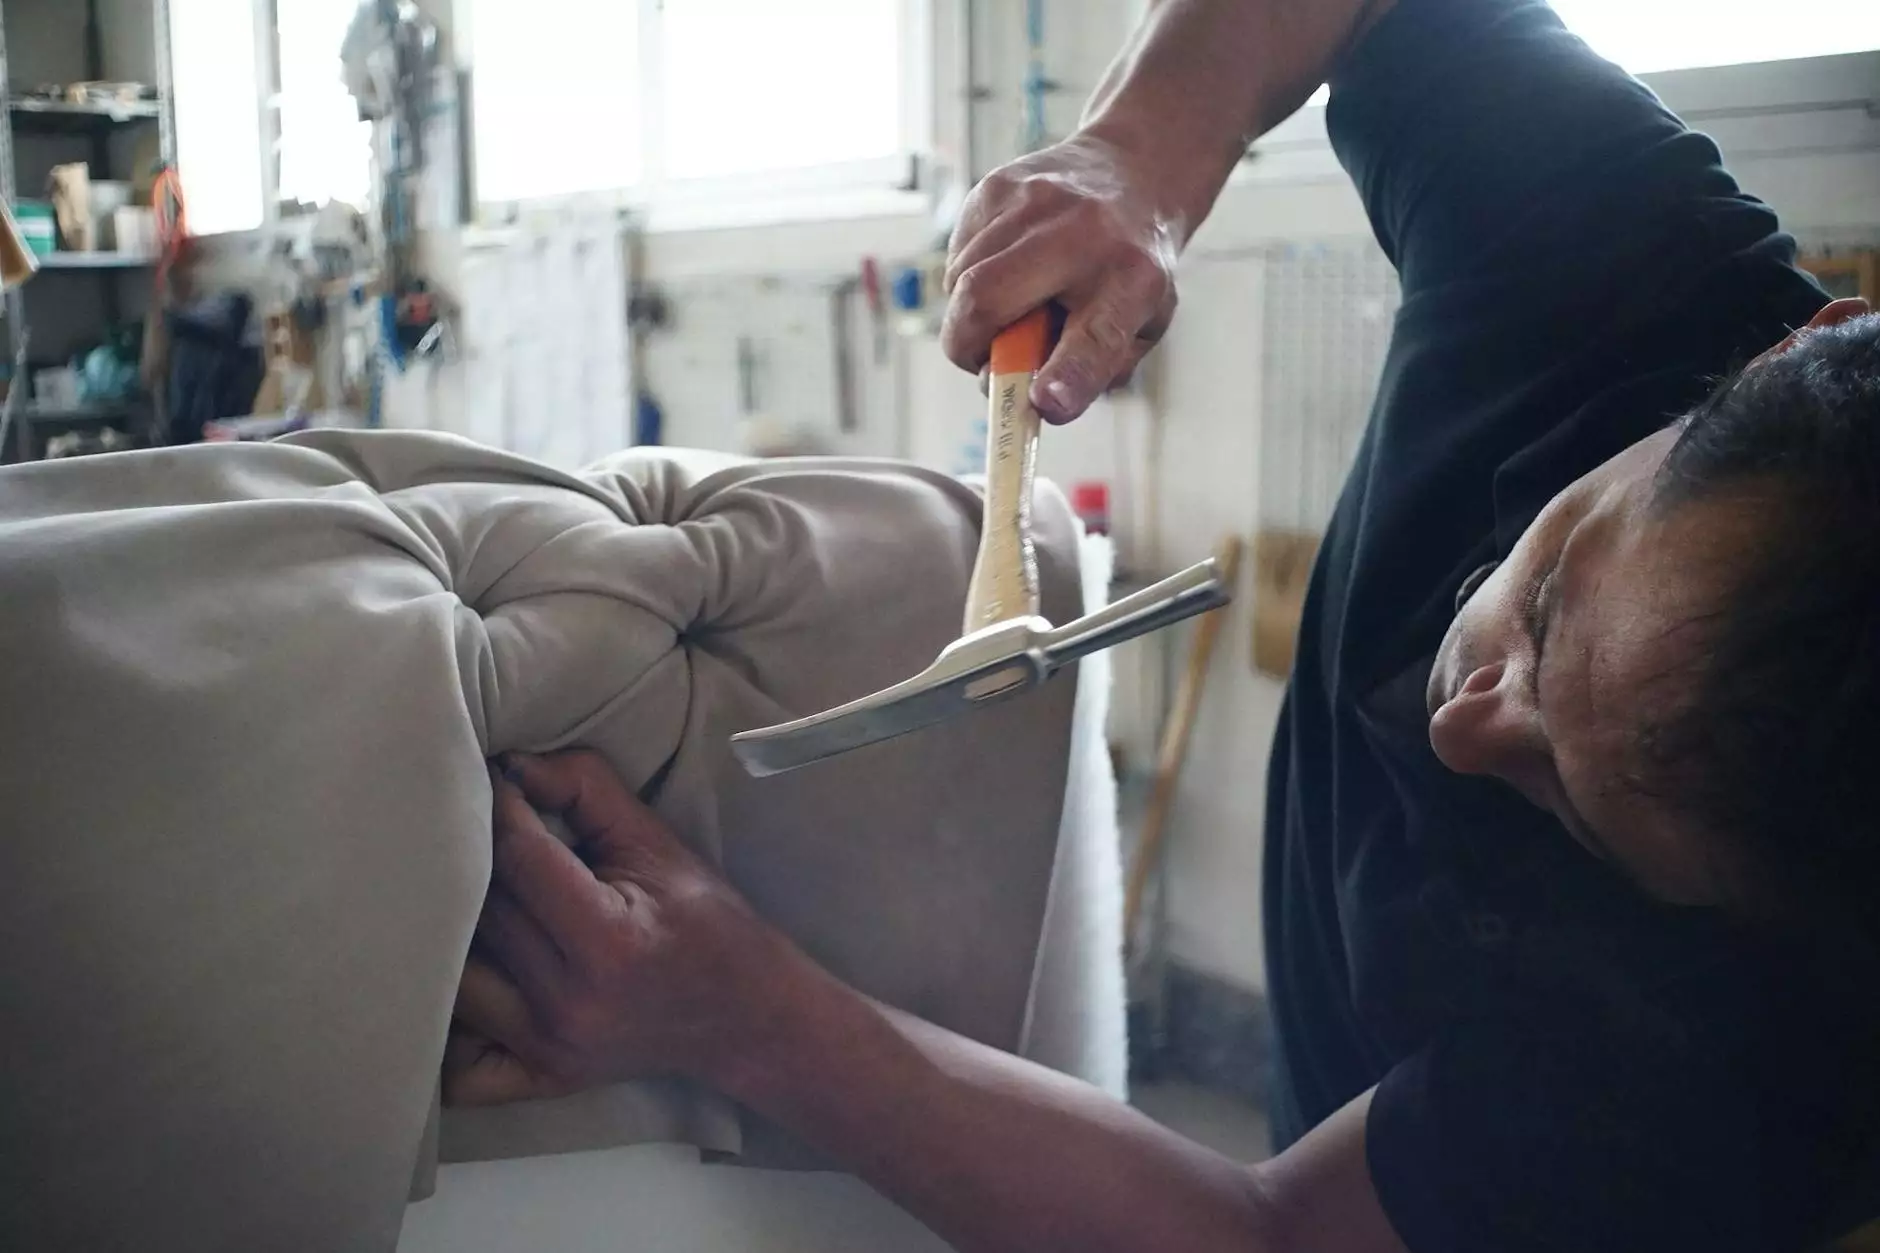
The Pool Tile Installation Process
Now that you are familiar with the types of tiles available, let’s discuss the pool tile installation process. Proper installation is critical to ensure that your tiles last and continue to look fantastic. Here’s a step-by-step outline of what to expect:
1. Preparing the Surface
Before tile installation begins, the pool surface must be prepared. This involves removing any old tiles or surfaces and ensuring that the underlying structure is clean and smooth. This step is essential for ensuring proper adhesion and longevity of the tiles.
2. Selecting the Right Adhesive
The next step involves choosing the right adhesive. For most situations, a thin-set mortar is used, which is specifically designed for tile applications. Make sure that the chosen adhesive is compatible with both the tile material and the pool environment to ensure strong bonding.
3. Laying Out the Tiles
Before securing the tiles, it's beneficial to lay them out dry (without adhesive) to visualize the design and layout. This will help in avoiding awkward tile cuts and ensure a pleasing appearance.
4. Installing the Tiles
Once satisfied with the layout, begin attaching the tiles using the selected adhesive. It is important to press each tile firmly and to ensure even spacing for grout application later. Utilizing spacers can help achieve consistent gaps.
5. Grouting the Tiles
Once the tiles are securely bonded and the adhesive has set, the next step is grouting. Grout not only fills the spaces between tiles but also supports the tiles themselves. Choose a grout that is specifically designed for pools to resist moisture and chemicals.
6. Sealing the Tiles
After grouting, it’s crucial to seal the tiles to prevent water infiltration and staining. Depending on the type of tile and grout used, this step may vary, so make sure to follow guidelines for the best results.
Maintenance Tips for Pool Tiles
Proper maintenance of your pool tiles will prolong their life and keep your pool looking stunning. Here are some essential maintenance tips:
- Regular Cleaning: Use a brush and appropriate pool cleaner to regularly scrub away any dirt, algae, or debris.
- Check Grout Lines: Inspect grout lines periodically for cracks or deterioration and re-grout as needed.
- Monitor Water Chemistry: Maintaining balanced water chemistry can prevent tile discoloration and damage from harsh chemicals.
- Inspect for Damage: Regularly check for loose tiles or cracks and address any issues promptly to avoid further damage.
Why Choose Professionals for Your Pool Tile Installation?
While it may be tempting to undertake pool tile installation as a DIY project, hiring professional installers can save time and ensure a higher quality outcome. Here are several reasons to consider:
- Expertise: Professional installers have years of experience and know how to handle various issues that may arise during installation.
- Quality Assurance: Professionals use high-quality materials and methods, reducing the chances of mistakes that could lead to costly repairs.
- Efficiency: Professionals can complete the job more quickly and effectively, allowing you to enjoy your pool sooner.
- Warranty Protection: Many professionals offer warranties on their work, providing peace of mind against future issues.
Conclusion: Enhance Your Pool with Tile
In conclusion, pool tile installation represents a wise investment for any pool owner looking to enhance their space. With a variety of tile options available, a careful installation process, and regular maintenance, your pool can become a stunning focal point in your backyard. By choosing to work with professionals, you ensure that your project is completed correctly and efficiently, providing you with a beautiful and durable pool you can enjoy for years to come.
For those looking to start their journey toward a beautifully tiled pool, reach out to poolrenovation.com for expert services and guidance in your pool renovation projects, including swimming pools and water heater installation and repair. Your dream pool is just a tile away!